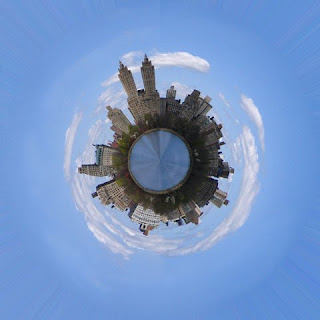
Final result will be:
This tutorial will test your photo-retouching skills. For the first picture, i will link you to the large image that I will be using for this tutorial, however, the other images will be scaled down for page loading time purposes.
Image you can take by clciking on the below image:
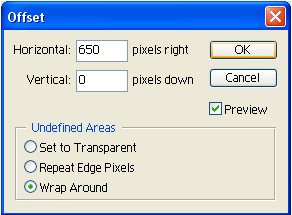
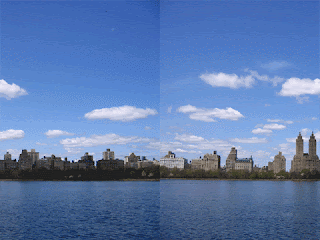
Now, eventually we are going to want to join the two sides together, to create a seemless edge. How do we do this? Have any ideas? Well, now that you have the picture open in Photoshop, we will offset the edges. Filter > Other > Offset (650 Pixels to the right, Wrap around)
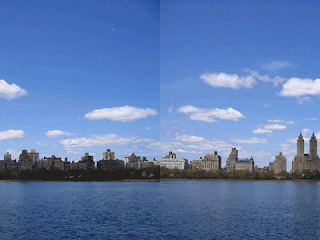
Now, what offset will do.. is sort of, shift the whole image (in this case, over to the right) but instead of deleting the parts that go off the canvas it just wrapps it round onto the left hand side instead. This now means, that we have the origional two edges of the image.. meeting in the middle, which makes it allot easier to work with
How does this help? Well, it makes it allot easier to work with actaully.. now we need to work on making the distinctive line inthe middle, seemless.
The easiest bits to do, are going to be the water.. and then the sky.. and then the buildings/trees.
So, lets tackle the water first. Grab a large soft clone stamp tool (I used 100px)
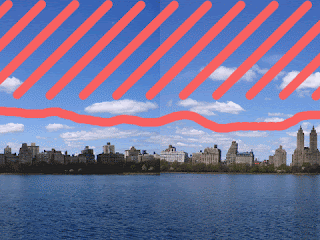
Just do it roughly, no need to carry it on all the way upto the shore line. Just rough like mine. The sky is the next hardest.. Now.. We need to take out a top layer of clouds.. I'd guess something along the lines of...
So, again with your clone stamp tool (and healing brush too) try and edit the clouds out in the red.. whilst keeping the middle line seemless. This is a bit tricky, and may take a couple of minutes...
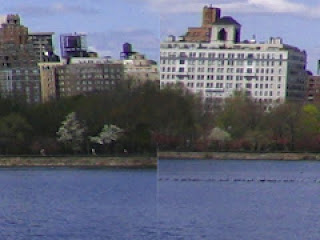
That's it. Now, for the trees and the buildings. The trees will be pretty easy with the clone stamp.
For the (are they ducks, well.. clone them out) But, for the sort of 'bankment' below the trees.. you can just copy a bit from the left.. and paste it, rotate it.. etc.
Now, if you're doing the tutorial, (and not just reading it) then the building will also be a litttttllleee off key, which needs a little adjusting.
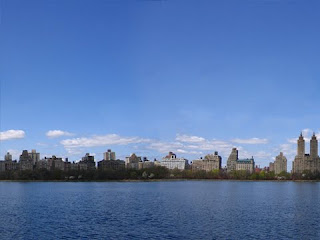
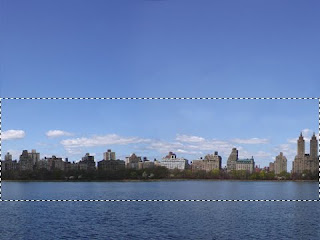
That's all the hard bits done. Now it's just a case of using a few filters and whatnot to complete it =) Make a rectangular selection, stretching from the left to the right.. but not 100% vertical..
And then Image > Crop
Now, since we are going to be using polar coordinates.. we need to make the image square.. to give a round result (a rectangle would result in an oval) So...
Image > Image Size
Uncheck 'Constrain Proportions' and then copy the figure from the width (the top box) and paste it into the one below it, and hit ok. You'll have a square. An ugly square, but a square nethertheless.
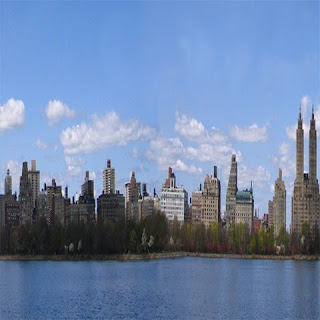
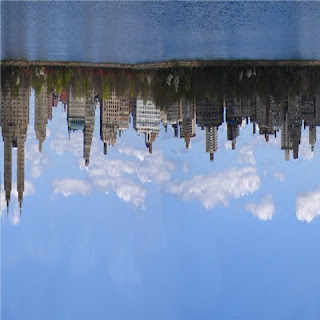
Now, we need to use the polar co-ordinates. But first, turn the image upside down, by using Edit > Transform > Rotate 180
refrain from flipping it vertical, as any text you might have will be back to front at the end.
And then, Filter > Distort > Polar Co-ordinates .... Rectangular to Polar
That's it, pretty much done. This makes great for cards and posters!





 by ddfdsa on 12-May-2019 10:54 pm
